
The recipe makes a two-crust 9" pie:
2 Cups sifted All-purpose flour
1 tsp salt
1/2 Cup chilled shortening
4 Tbsp chilled butter
4 Tbsp Ice Water
Sift together Flour and Salt. Cut half of the shortening into the flour with a pastry blender, until it looks like the texture of cornmeal. Cut in the remaining shortening and butter until the dough is in pea-sized crumbs. Sprinkle on the water and blend in lightly with a fork. If needed to hold the dough together, you can add more water a scant teaspoon at a time. When you can gather up the dough in a ball, stop working it. Pie Crust should be worked lightly, not kneaded like bread. Divide the dough in half, press circles between two sheets of waxed paper to make a disc. This makes chilling the dough faster and rolling it will be easier later. Put the dough in the fridge to chill for an hour or so before rolling. If not using it right away, put the dough in a large Ziploc bag and freeze it.
Then I just go ahead and roll my dough between the two pieces of waxed paper. You need to keep lifting and repositioning the paper when you do this, but it means that you add little or no extra flour to the dough. It also makes transferring it from the board to the pie tin easier.

Peel back one side of the waxed paper and put that side down into the pie pan. Then gently peel back the top sheet of waxed paper:

Gently push the dough into the corners of the pan:

If any part of the edges breaks, you can patch it with dough from an area that has too much:

If you are making a single-crust pie, proceed below. If you are making a double-crust pie, fill
the pie and then place the top crust over the filling. Then proceed with crimping directions below.
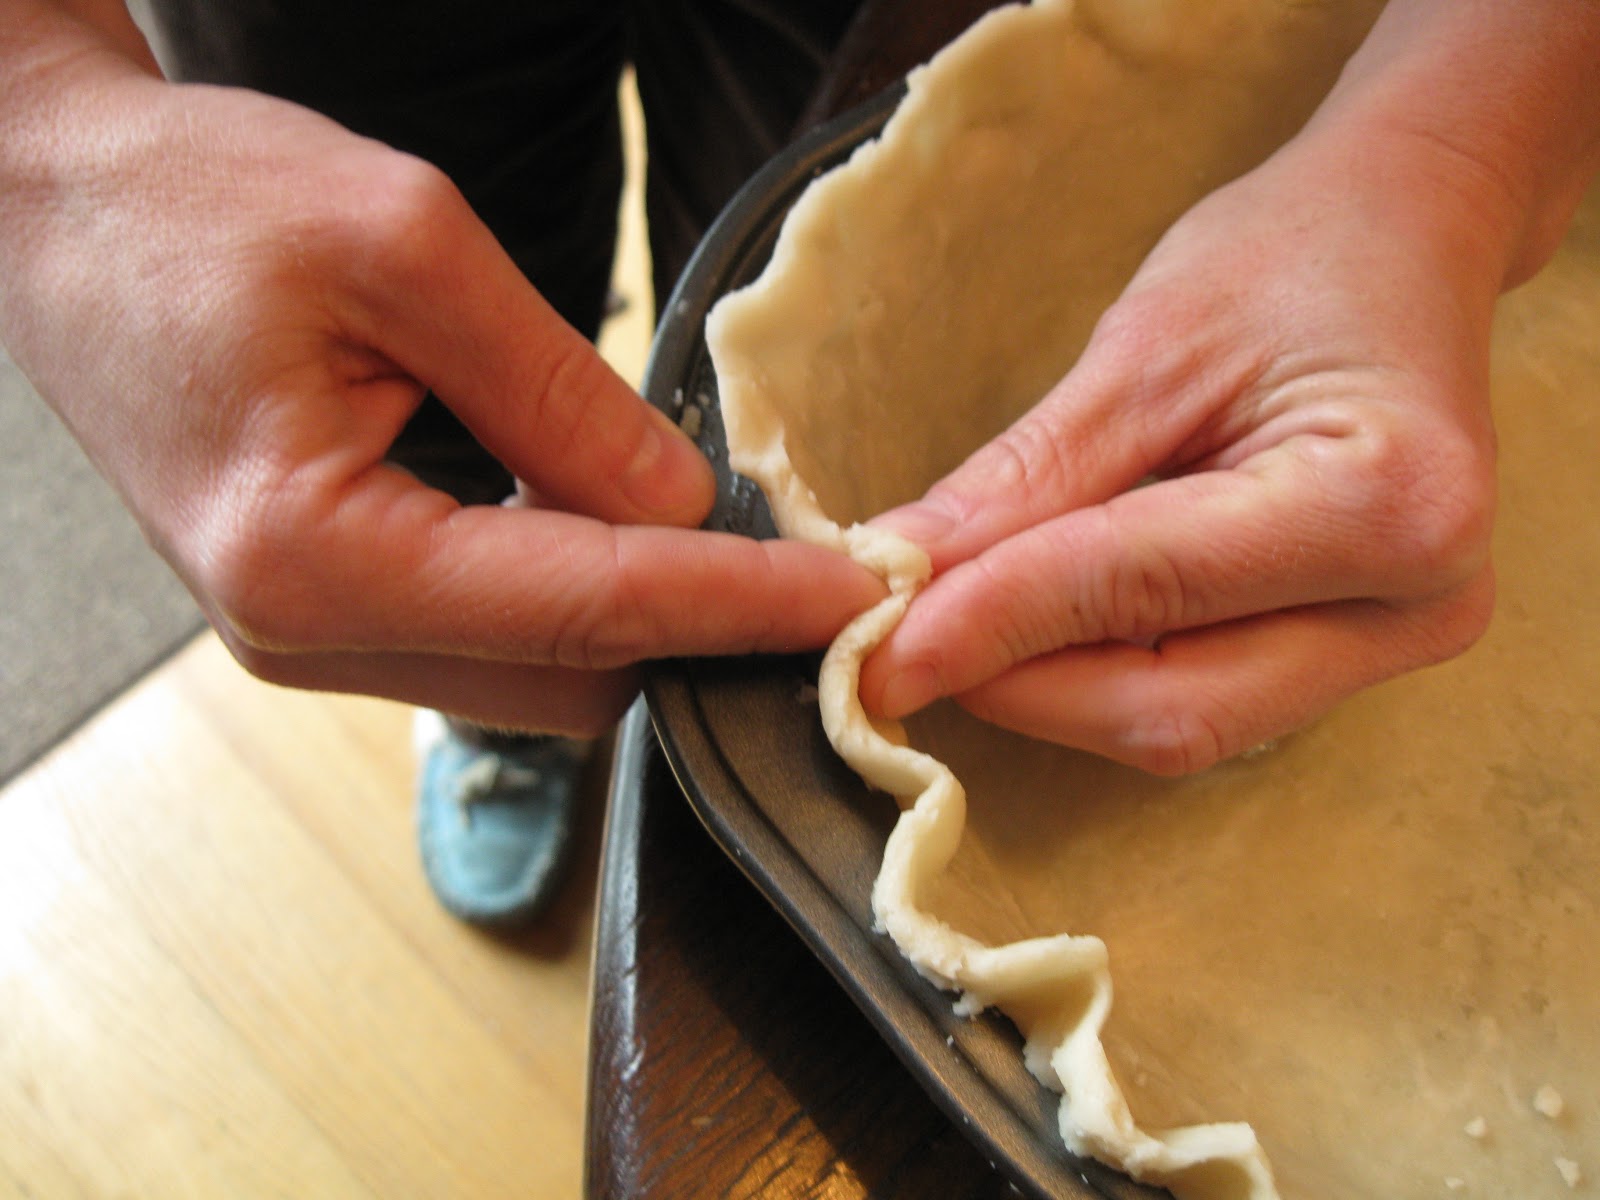
Fold over the edges and pinch them together like this:

Crimp edges in a fluted pattern (see below) or press them with the tines of a fork.
Have you ever made a gluten free crust?
ReplyDeleteSorry, Susie, I have not made gluten free crusts yet, so I could not say whether or not this recipe will work with anything other than wheat flour. I plan to try making some gluten free recipes and posting about the results soon.
DeleteI'd like to invite you to join our site www.erecipe.com . I really enjoy your blog and recipes and I think the over 8,000 unique daily visitors to eRecipe will too.
ReplyDeleteBy joining eRecipe, we will provide the Nutrition Facts for every recipe you post in which you could customize and add to your blog. Viewers need and love to know the nutritional facts. Its a free service that we offer to blogs and recipes we really love. It looks professional and your members will love it.
Simply visit www.erecipe.com or contact me at michelle@erecipe.com. We look forward having you in our network!
Christa, how do you "blind bake" your pie crusts? I use the same recipe you posted, line the pan with the crust in It with foil and beans, but the crust still sort of melts into itself. Tastes great, but isn't very pretty. Thanks for your information. I don't have a website, so see no way to "publish" this question other than with the "anonymous" appellation.
ReplyDelete