I don't stray too far from traditional recipes when it comes to apple pie. The only thing a little bit different about this one is that instead of a top crust, it has a thin layer of toasted brown sugar. It is not a streusel topping, which stays crumbly (and which I adore), but this topping melts a bit so that only a thin layer of brown sugar clings to the top. It is juicy and very fresh tasting, and begs for a scoop of good vanilla ice cream on top. Simply omit the topping and replace it with a top crust for an excellent regular apple pie.

Brown Sugar Apple Pie:
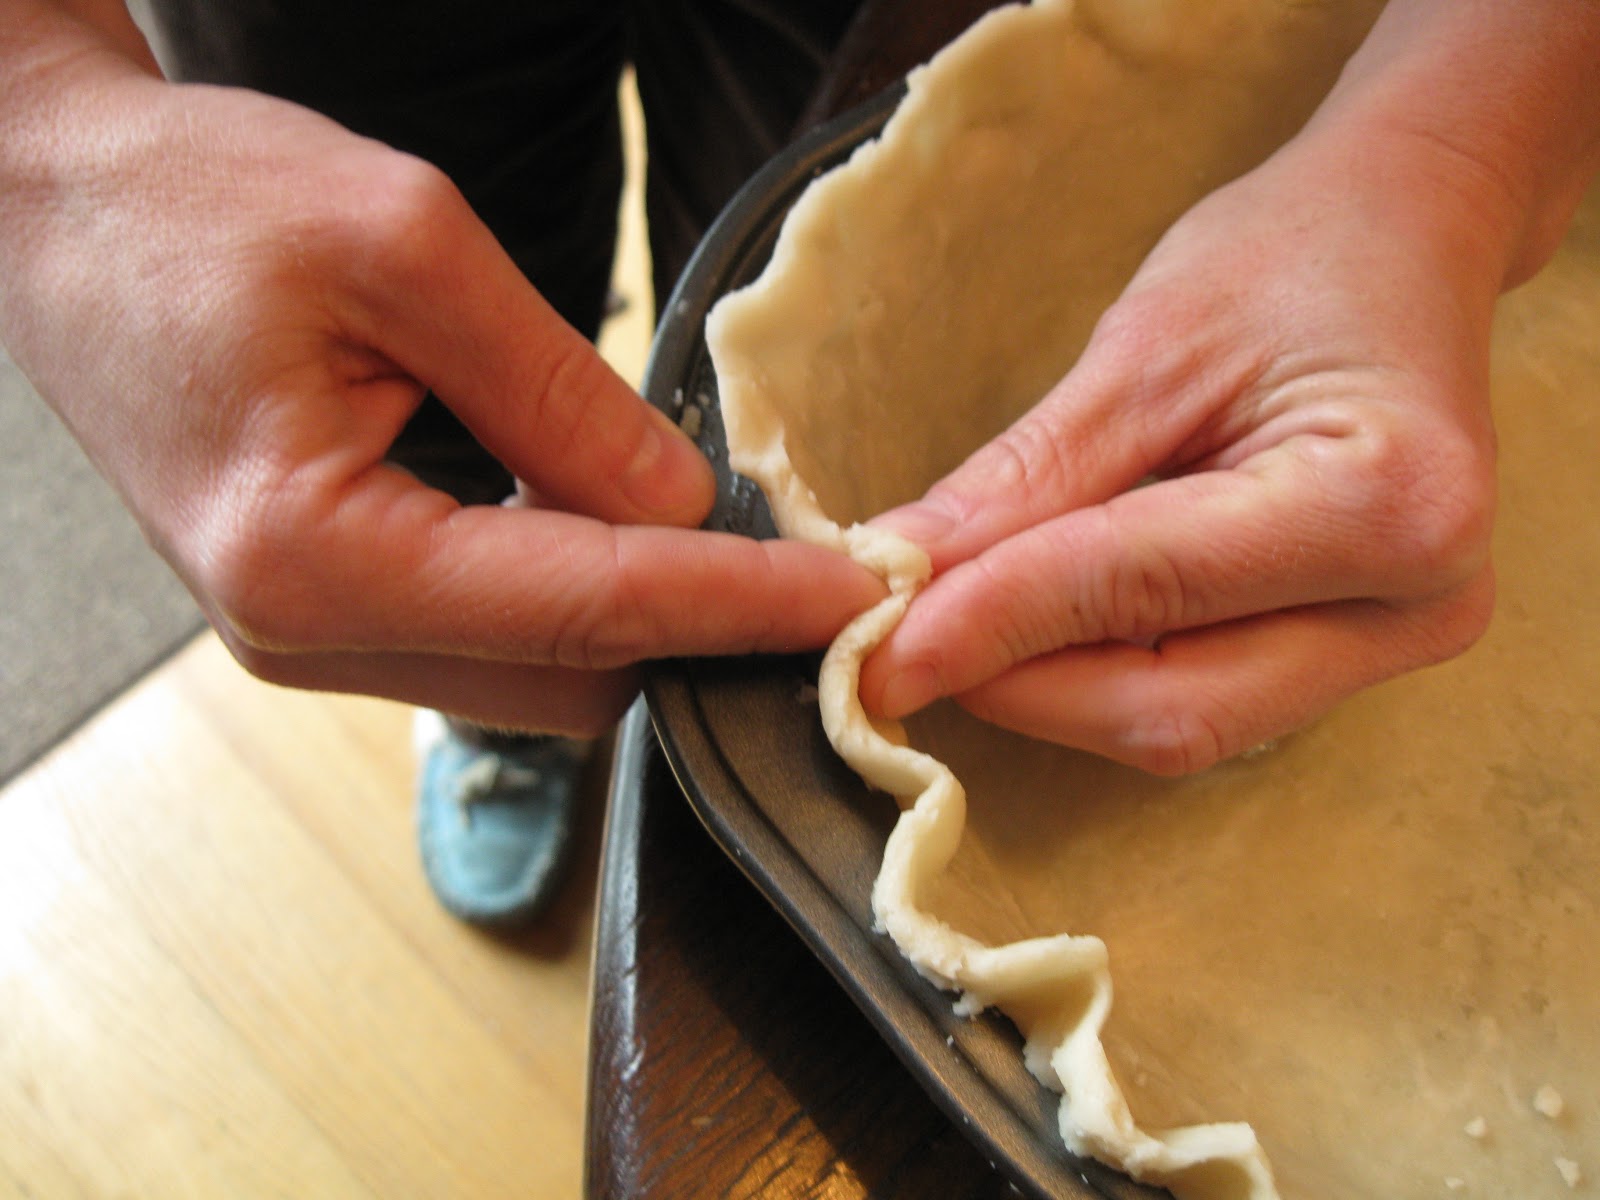
1 recipe Flaky Pie Crust
6 Cups mixed baking apples, sliced thin
(it is good to use more than one apple variety)
1/2 Cup Brown Sugar
1 Tablespoon Cornstarch
1 tsp Cinnamon (half ceylon, half spicy if possible)
1 tsp freshly ground nutmeg
dash cloves
Topping:
2 Tablespoons Brown sugar
2 Tablespoons flour
2 Tablespoons butter
Roll the crust and lay the bottom crust in the pie pan, crimping the edges. Put the pie crust in the freezer for 20 minutes. Meanwhile, put the apples, cornstarch, sugar and spices into a bowl and let it macerate for at least 20 minutes. Take the crust out of the freezer and dust the bottom with a little flour. Spoon the apples into the crust, making sure to fill in the whole crust, not leaving big gaps of air.
Mix topping together in a small bowl, then sprinkle over the top. Bake at 425 degrees for 15 minutes, then reduce the oven temp to 375 and bake an additional 30-35 minutes. Let the pie sit for at least two hours to let it "set up." Depending on the juiciness of the apples, the pie may be a little runny. But letting it sit for two or more hours will help this.

.jpg)


.JPG)